Top 5 Best Expense Tracking Software Updated For 2024
Keeping track of your spending patterns is a critical element of running a successful business. If done manually, this can...
Keeping track of your spending patterns is a critical element of running a successful business. If done manually, this can...

Are you a movie enthusiast in this pandemic, who is constantly on the lookout for new ways to watch movies...

How can I convert YouTube playlists or videos to WAV? To safely download those videos, choose one of the finest...

Everyone needs entertainment in their lives, and the best option is TV. We've compiled a list of the best free...
You may not consider shaving milliseconds off the time it takes to look up websites using the Domain Name System...

Want to know how to watch cartoons online for free? Keep reading. Then you've arrived exactly where you were meant...

The Tools to convert image to 3d online free, Converting a 2D image to a 3D image may appear absurd,...
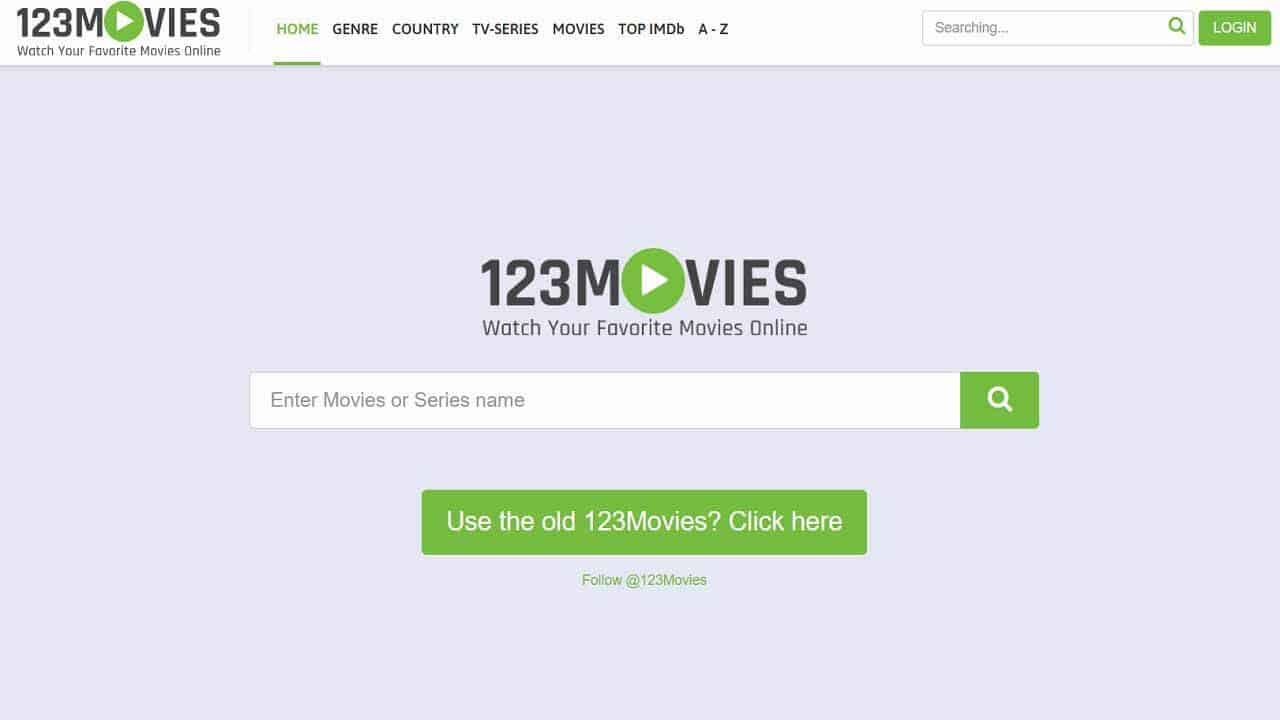
In the realm of streaming, 123movies was one of the most popular websites. However, it has been turned off (not...
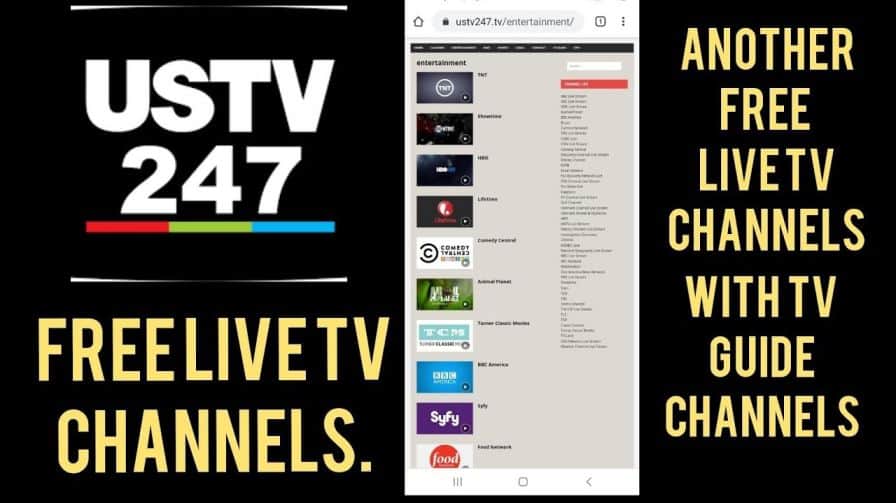
If you're looking for a dependable alternative to USTV247, there are a few to consider. USTV247 is a live (TV)...

There has been a buzz about Camscanner, and issues arise questioning is Camscanner safe. Well, if you don't need to...